Jump to: General settings | PDF & Word | Excel
You can export your coverage from either the article search page or from a Collection. You can also save your export settings to reuse again later.
Once you've selected your content to export, click 'Actions' > 'Export' and choose Export all or your selection.
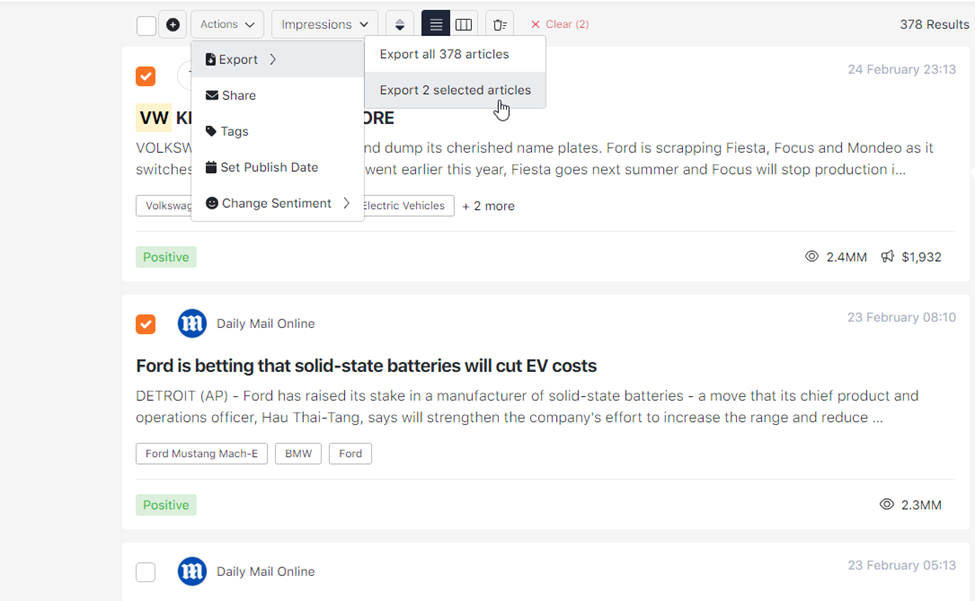
Next, a side panel will allow you to either export into a PDF, Word, Excel, or CSV file as it is - hit Export at the bottom. Or you can customize using the following options.
General Settings

1. Upload a logo (optional) - 280px x 280 px
2. Name your template, you can also click this box to find your saved settings later or find all your saved templates.
3. Select permissions for the template:
- Project level = anyone with access to this project,
- User project level = Only you can see this on this project,
- User level = only you can see this on any project.
4. Click Save and then 'Save New'. As you work through the other settings you can 'Save Changes' to ensure you're all set to reuse these later.
5. Compress to Zip will allow you to export all articles individually and save them into a zip folder on your pc.
PDF/MS Word settings
Here you can customise the PDF & MS Word export design by adding a custom front and back cover, header, and footer image. Click on the empty image icon to upload your images. Use the toggles if you wish to remove any of these options.
As additional options, you can choose to include a Table of Contents, a KPI summary, or Article header metadata. Images can be shrunk to fit Single Page.

Excel/CSV settings
For Excel and CSV exports you can select which data points to include in your Excel.
Move the Data Points from both tables to customize your Excel. Use the > if you want to add items from the "Available Data Points" Table. Use the < if you wish to remove a data point from your Excel Exporting Data Points" default list on the right.
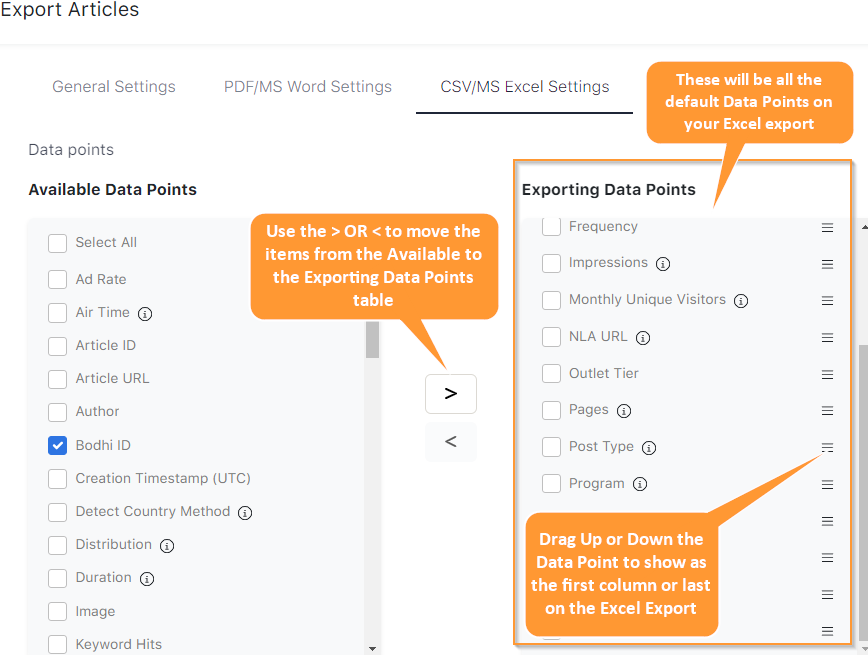
On the right-hand table, where you have now all your default items selected, drag and drop data points to reorder as you want them to appear in the file. You can save the settings for later use and if you have different requirements for different campaigns, stakeholders, or clients you can save different settings for each.
Remember to Save Changes so you can reuse your settings again later on.